7 Mistakes You Must Avoid When Installing Underground Trash Containers
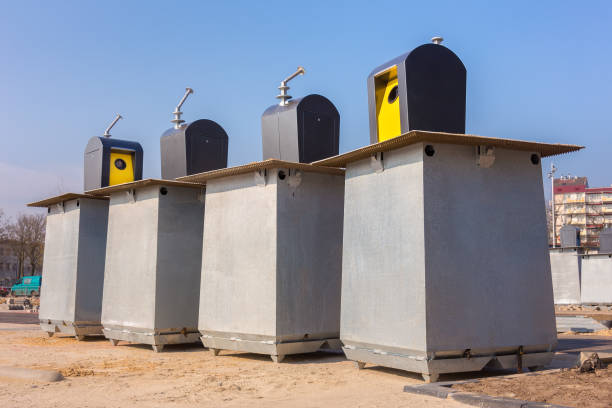
The installation of underground trash containers represents the most intelligent upgrade which property owners can implement because it produces cleaner environments and reduces unpleasant smells and creates a tidier appearance. The system installation process requires careful planning because even the best system will fail without proper execution. The good news is that most problems are completely avoidable.
The 7 mistakes which you should review require your attention before you start any construction work. The common mistakes which you will encounter throughout your work will cost you both time and money.
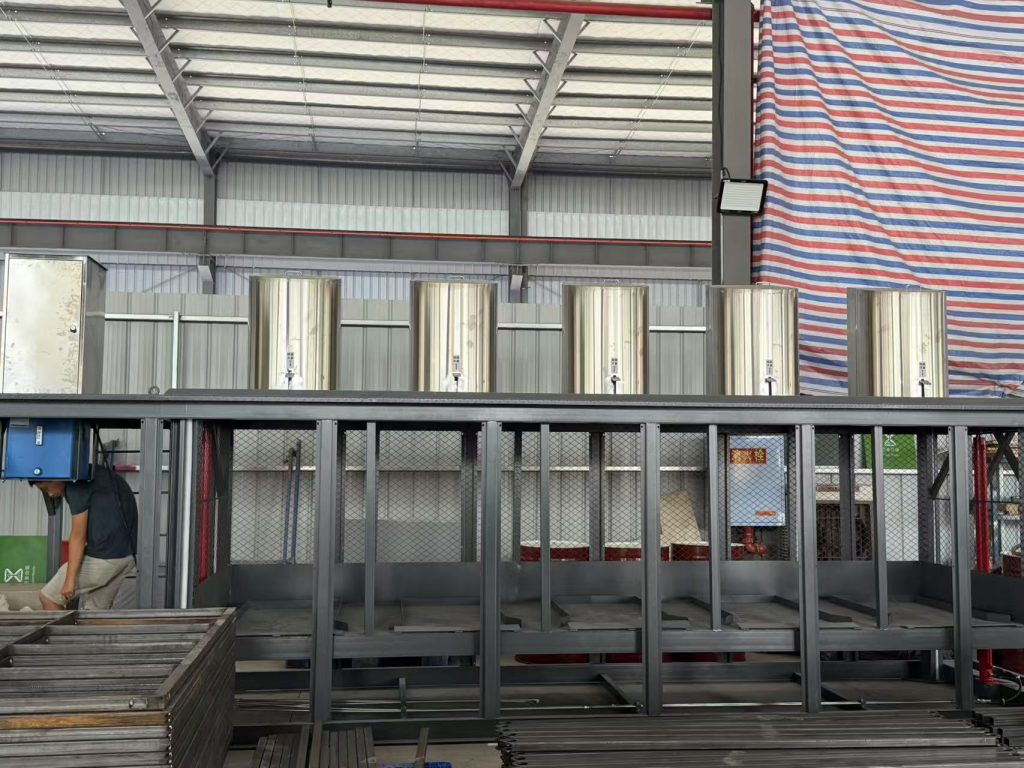
Mistake 1: Skipping a Proper Site Assessment
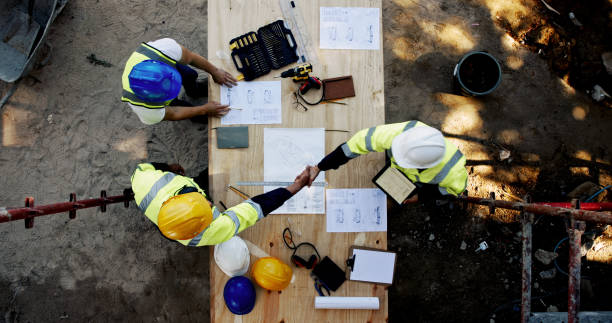
The process requires beginning with a location selection followed by ground marking and then ending the work. The evaluation needs both underground elements and aboveground elements to be assessed.
The installation process becomes difficult because of three elements which include underground utility lines and high water tables and unstable soil conditions. Containers that aren’t set in properly prepared ground will experience movement and sinking and in areas with poor drainage will actually float upward after heavy rain.
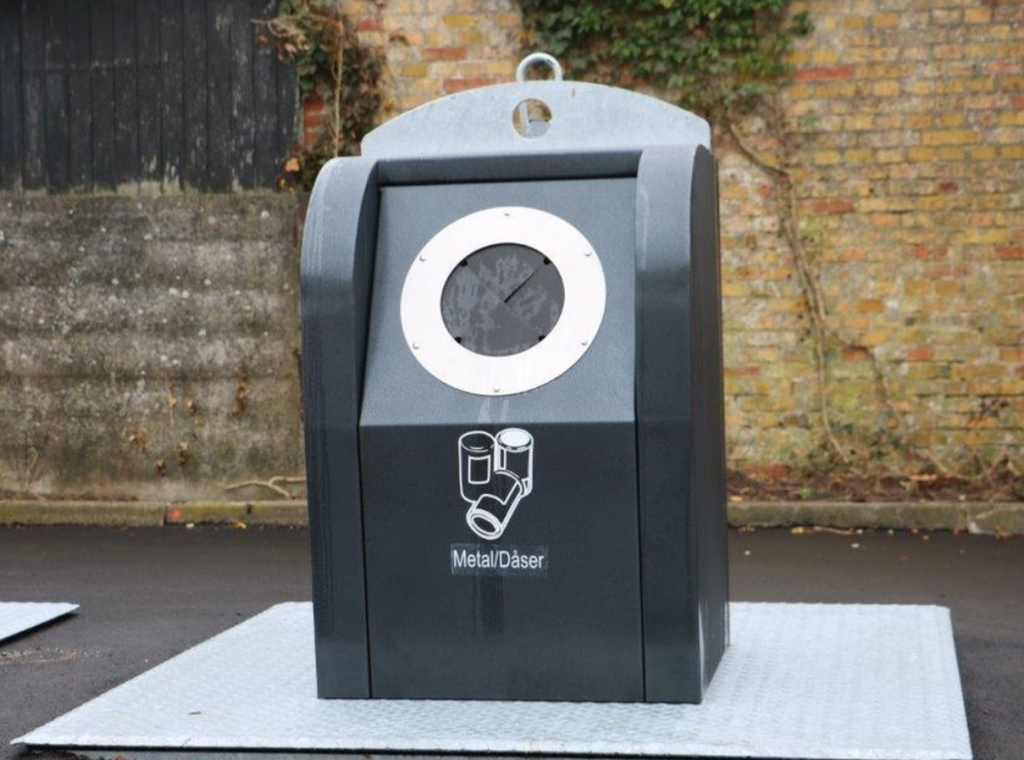
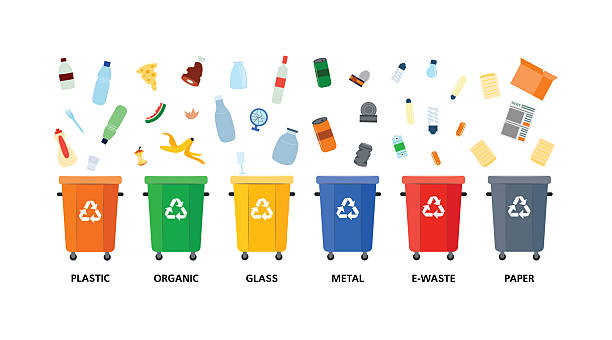
Mistake 2: Choosing the Wrong Container Size
Bigger isn’t always better, and smaller isn’t always cheaper in the long run. A container that’s too small means more frequent pickups and higher collection costs. One that’s oversized wastes budget upfront and may not fit the available footprint.
A lot of buyers make this decision based on rough estimates or what looks right visually, which rarely lines up with actual usage.
Mistake 3: Ignoring Local Permit and Zoning Requirements
People believe that the container needs no permits because it remains buried underground and hidden from view. The assumption has resulted in expensive container removals.
Different locations establish different regulations for underground waste systems which require compliance with building permits and zoning regulations and environmental rules and HOA bylaws.
Mistake 4: Overlooking Truck Access and Collection Logistics

The trash container installation reaches its ideal condition yet the collection truck fails to access it, which creates an accessibility issue.
To empty underground containers, operators need to use special trucks that function as lifting equipment. The container positioning needs to consider the turning radius and overhead clearance and ground load limits that these vehicles require.
Mistake 5: Choosing Price Over Quality on the Container System
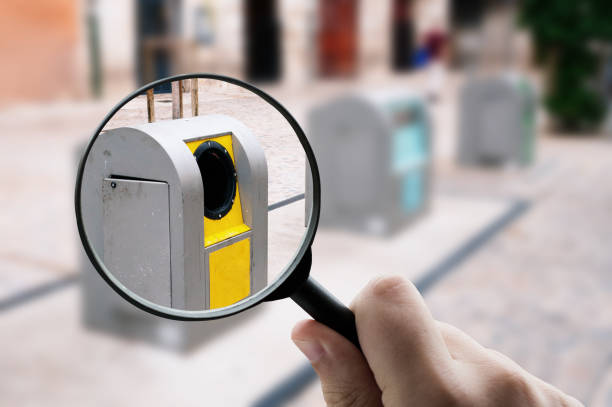
The initial payment requirement appears advantageous because it suits your financial constraints for the project. The underground containers are designed to provide service for a period between 15 and 20 years. The three to five year lifespan of the system leads to higher costs than selecting a different option.
Lower quality systems show their defects through three main indicators which include their wall thickness and the way they seal their lid and collar areas and their use of materials that don’t match the regional climate and waste management needs.
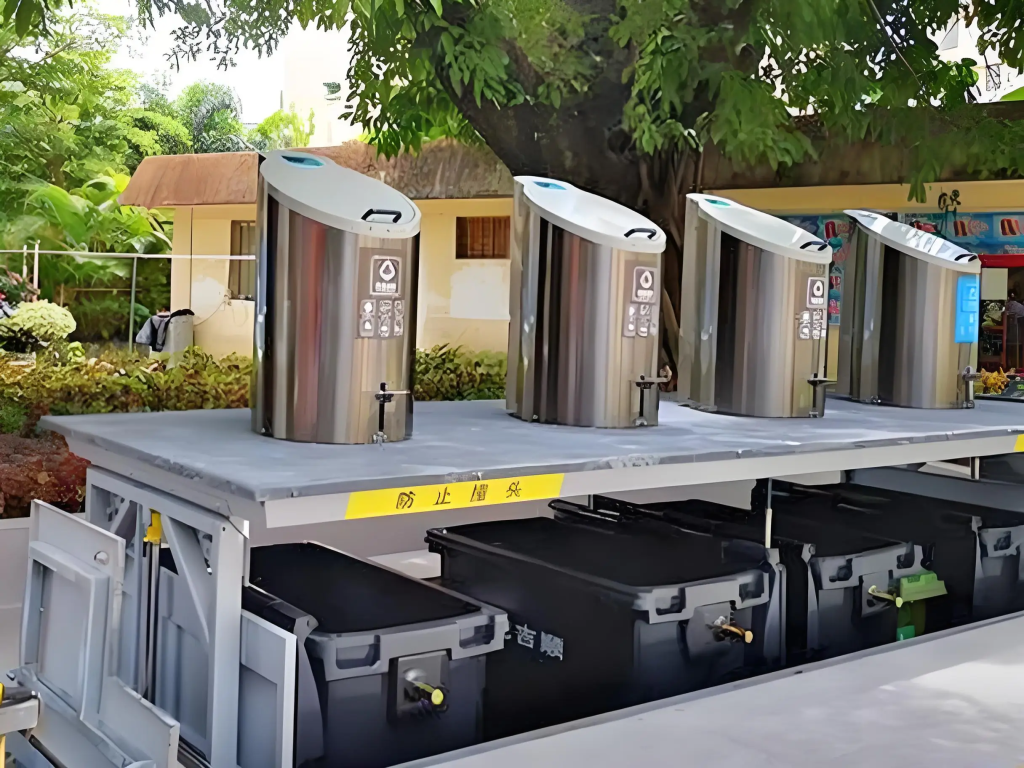
Mistake 6: Neglecting Drainage and Waterproofing
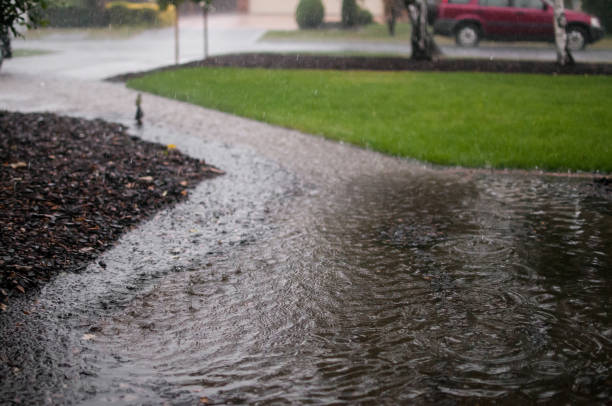
Underground container installation needs better water management because it currently receives insufficient attention. The pit will collect water because it lacks drainage which results in three problems: first, it accelerates corrosion, second, it creates odor issues and third, the container may shift or rise.
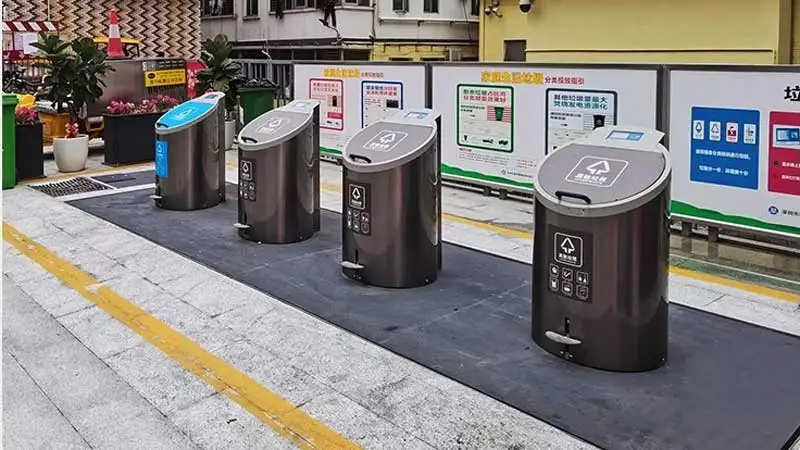
Mistake 7: Failing to Plan for User Access and Safety
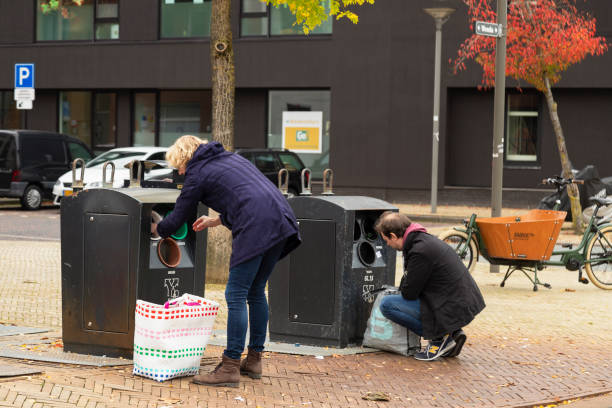
The underground container will become a complaint source plus a liability problem when residents or tenants find its use to be unsafe. The daily operation of the system depends on three factors which include the opening height for deposits and the weight of the lid and the surrounding container area. People will create alternative solutions to work when the system fails to provide proper access and safe conditions because they want to dispose of their waste.
One More Thing Worth Mentioning
Once installation is complete, take the time to brief residents or building occupants on how to use the system correctly. What goes in, what doesn’t, and how the lid operates. These are simple things, but unclear communication at the start leads to misuse that’s hard to correct later.
Go through each point before you start. Coordinate with your installer, your waste collection provider, and your local authorities early. That upfront effort is what separates a smooth installation from one that causes problems for years.
Thinking about making the switch to underground containers? Contact us for a free site consultation and we’ll help you figure out what works best for your property.
Related Products