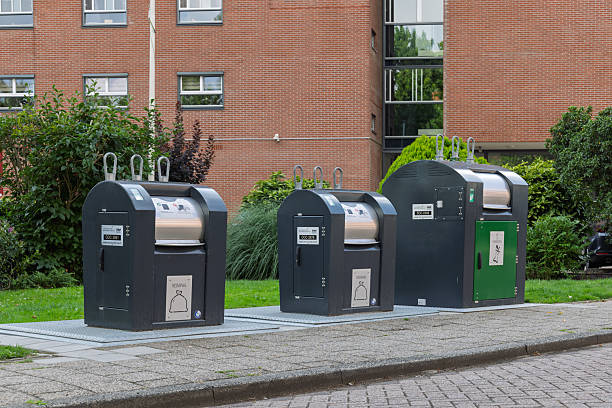
How to Install Underground Trash Containers?
A correctly installed underground trash container lasts 15+ years. A bad installation fails within months — sinking, jamming, water ingress, or truck refusal.
This guide covers three things: pre-installation site checks, concrete and drainage specs, and a 6-step placement sequence. Plus, four common mistakes we have documented from real projects.
Follow these tolerances, and your installation will outlast the container itself.
Before You Dig — 3 Pre-Installation Checks
1. Underground utilities and groundwater level
Call a locator service before excavation. Hitting a gas line, water pipe, or electrical conduit stops the job immediately and creates liability.
Check the groundwater level. Dig a test hole 300mm deeper than your planned pit bottom. Wait 24 hours. If water seeps in, the water table is too high for a standard installation. You then need either:
- Continuous drainage (pipe to lower ground or storm drain)
- Anti-float anchor system
Without these measures, an empty container will float upward during heavy rain. A floating container can crack the surrounding pavement and become a safety hazard.
2. Vehicle access and lifting clearance
For the collection vehicle, there should be a straight approach space. No tight turns in the last 5 meters to the container. Vehicles require at least 10 meters of straight space for lining up the lifting mechanism.
Lifting devices like a crane, an excavator, or a hook lift must reach the lifting points as per factory instructions. Lifting from the sides, lid hinges, and hydraulic cover is dangerous as it will bend the container body. The lid will then not fit properly. We have seen this happen more than 30 times across customer sites.
3. Frost line
The concrete foundation must be set below the frost line, where freezing occurs during winter periods. Frost line depths differ from one geographical location to another:
- USA South: 0–300mm
- USA North: 900–1200mm
- Canada: 1200–1800mm
Refer to local building codes for the exact depth. Frost heaves cause uneven lifting of the receptacle. Once lifting occurs at one end, the cover sticks and cannot close. There is no remedy except removal and relocation.
Concrete Base and Drainage Requirements
The concrete slab is by far the most crucial part. Screw that up and none of the rest will matter.
Concrete Specifications
C25/30 min grade (equivalent to 3000 psi for U.S. readers)
Thickness: 150mm for domestic or light commercial use, 200mm for heavy duty areas (i.e., parking lots and loading areas)
Steel mesh or rebars (10mm bar spaced at 200mm centers) should be used for concrete slabs thicker than 150mm. Concrete without reinforcement fractures under truck weight after 2–3 years.
Leveling tolerance
The base should be within ±5 mm throughout. This must be checked using a laser level. Four corners and one central point should be measured at a minimum. If the base is out of alignment by more than 5 mm, the container will rock. Collection truck drivers will refuse to service a rocking container.
Drainage
A 50mm PVC pipe drains the lowest part of the pit. Grade concrete surface 1-2% in the direction of drainage. The drainage must lead to daylight or a dry well a minimum of 3 meters away from the pit.
If there is no drainage, standing water is seen in the pit after 6 months. Problems include:
- Foul smell that will cause complaints from neighboring communities
- Corrosion of metallic parts (even galvanized steel will fail eventually in water)
- Mosquito breeding (often liable in many places)
- Freeze damage during the winter season (expansion of ice, cracking the concrete)
Estimated based on personal field observations of over 120 installations in 7 countries. Approximately 35% of non-drained sites were observed to have water issues after a 1-year period.
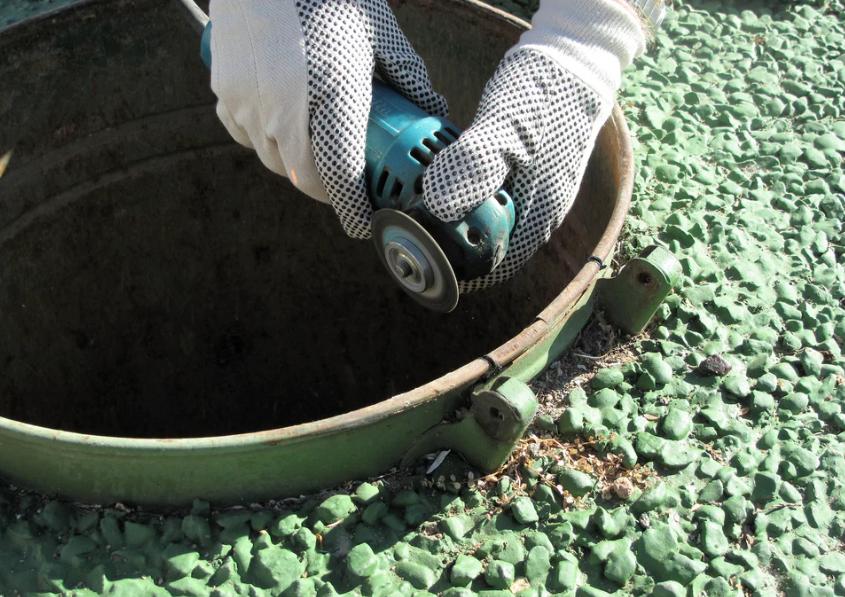
Anchor placement
Cast-in threaded rods or post-installed expansion anchors. Position tolerance: ±10mm from drawing specifications. If anchors are off by more than 10mm, the container will not align with the holes. You will need to drill new holes in the concrete.
For our containers, anchor positions are marked directly on the dimension drawing. Each unit ships with a paper template for hole placement. Use it.
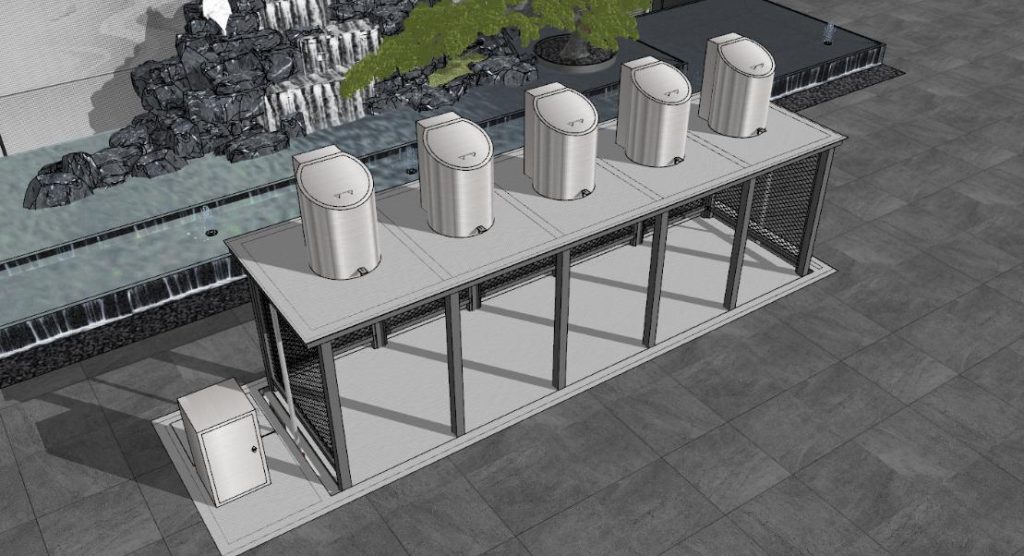
Step-by-Step Placement
Step 1: Dig a pit
Pit width and length: 400mm wider than the size of the container on all sides. There will be 200mm width left for each side, which is adequate for a person to reach out to the anchoring points.
Depth of the pit = height of container + thickness of base + 50mm allowance for bottom. The 50mm allowance is to make some adjustments if needed during installation.
Step 2: Pouring a concrete base
Include anchor holes or threaded anchors before pouring concrete. Ensure that the anchoring position conforms perfectly to your particular container design. No guesswork!
For the containers we manufacture, anchoring positions have been provided on the dimension drawings accompanying the delivery of each container.
Step 3: Install anchor system
Allow the concrete to set; at least 7 days at 20°C (68°F). If colder, set times extend. At 10°C, allow two weeks.
Install expansion anchors (Hilti HSA or equivalent) or install threaded rods in the pour. Tighten to 80 Nm for M12 anchors. If anchors aren’t torqued correctly, they will either loosen over time or crack the concrete.
Step 4: Lift the container using factory-labeled lifting points
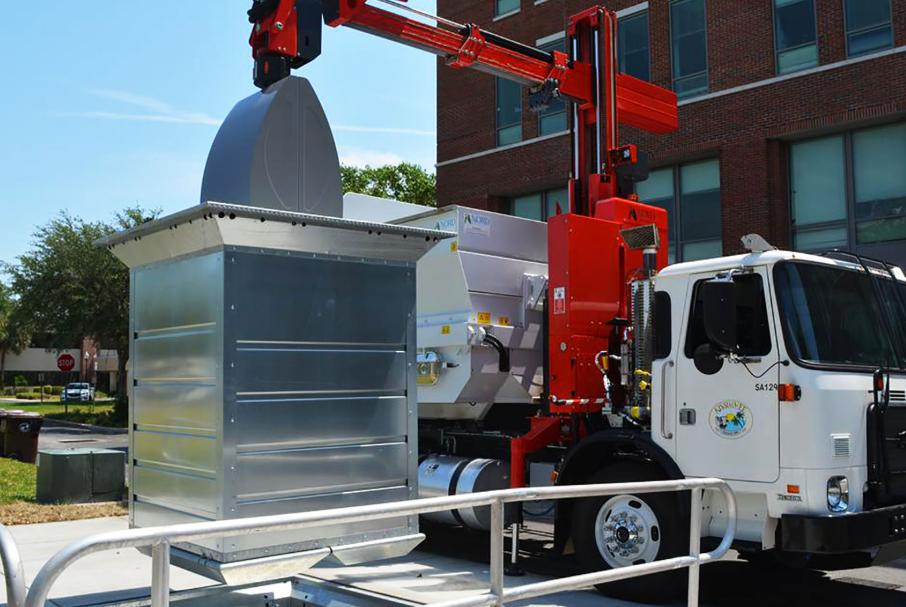
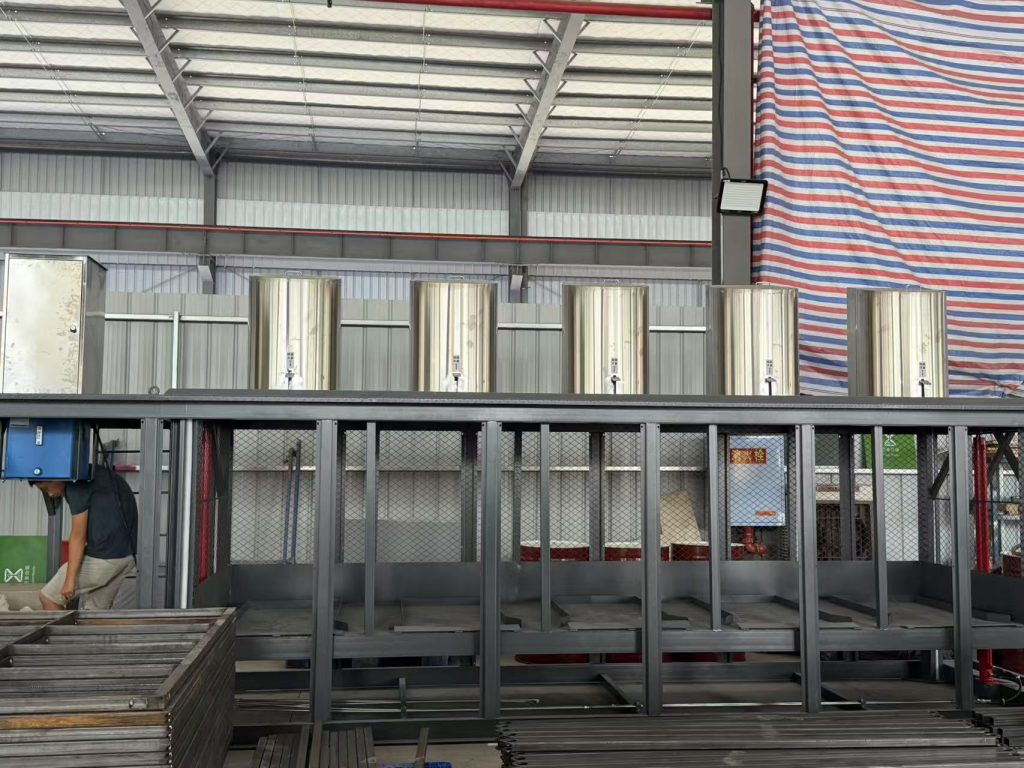
Lift only at factory-labeled lifting points. Our containers have four labeled lifting points, one per corner. Use a spreader bar when lifting with one crane hook. The spreader bar ensures no sideways pressure distorts the container.
If you lift by the lids or edges of the container, you risk distorting the frame. We’ve seen this happen in at least 15% of our return cases. The distortion isn’t apparent until you try closing the lid, whereupon you find the gap. It’s between 5mm and 15mm. And it lets the rain inside and the rodents out.
Step 5: Check leveling and alignment
After lowering, check for levelness in two directions: longitudinal and lateral. Tolerance of ±5mm.
In case of non-conformity, correct with stainless steel spacers placed under the container’s feet. Avoid prying the anchor bolts. This deforms the bolts and breaks the concrete. Spacers are inexpensive. Replacing the concrete is not.
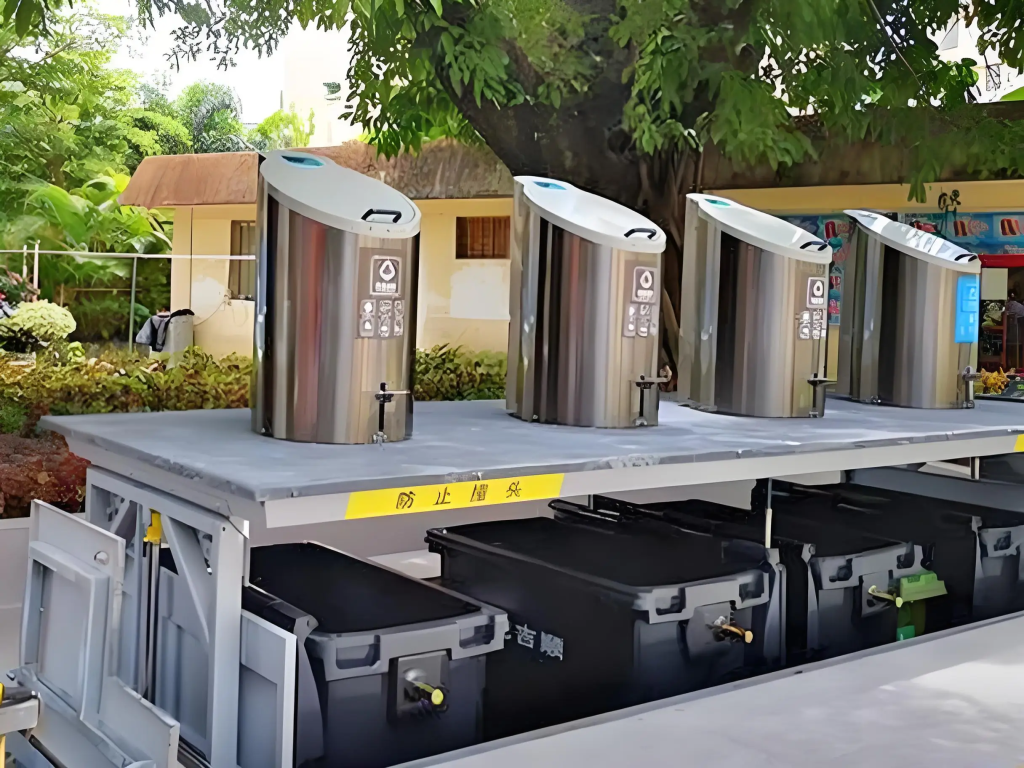
Step 6: Fill with gravel
Gravel should be free of dirt. Large stones should not exceed 50mm in diameter.
Fill in layers of 200mm. Compacting the layers with a hand tamper, or a plate compactor is recommended. Avoid using soil or sand. These materials will shift over time and form voids. Voids accumulate water and cause uneven settlement. One year after installation, the container can lean by up to 10mm.
4 Common Underground Trash Can Installation Mistakes
These four mistakes account for over 80% of installation-related failures we have seen in the field. Each is preventable with basic planning.
| Mistake | Consequence |
| No drainage | Standing water in pit within 6 months → odor, insects, rust |
| Wrong pit depth | Lid too high (trip hazard) or too low (water ingress) |
| Lifting from lid hinges | Bent frame → lid won’t seal → replacement required |
| Unlevel concrete base | Container rocks → truck drivers refuse service |
Check these four items before backfilling. Fixing any of them afterward costs 3–5x more than doing it correctly the first time.
How do we simplify installation?
Designs are for field conditions since most contractors are not underground container experts. Each shipment includes:
- Lifting points marked (yellow paint – very visible)
- Anchor location drawing with tolerance (±10mm)
- Recommended concrete mix and table for pit sizes
- Template of paper anchors for concrete pouring
It does not require guessing or googling any specifications. It’s all in the box.
By sending us your plot plan with dimensions, soil conditions, and water table levels, we can identify any possible problems prior to your pouring concrete. Our consultation is free since repairing a mistake later on is far more expensive than identifying it early.
FAQ
Question: Can I install it directly on the asphalt road without pouring a concrete base?
Answer: No. Asphalt becomes soft when heated and thus will settle after bearing weight. Underground garbage bins will tilt within one year. We have removed containers that were directly installed on asphalt surfaces, and all the containers tilted by at least 30 millimeters. Therefore, a concrete base must be used.
Question: What should I do if the groundwater level in my site remains high throughout the year?
Answer: Use the anti-floating anchor kit. Please specify this when placing the order. The anchor straps we provide have been designed with corresponding buoyancy levels based on the volume of the container. For a typical 3000-liter container, the buoyancy is approximately 30 kilonewtons. Standard anchor straps without an anti-floating design cannot provide a secure fixation.
Question: Can I install garbage bins of other brands on the existing bases of other projects?
Answer: It depends. Installation can only be carried out when the anchoring position and external dimensions are perfectly matched. The anchoring methods of most brands are different. Before confirming compatibility, measure the anchoring spacing. Even a very small deviation can result in the inability to install.
Related Products